Table of Contents
- Why Dogs Often Hesitate at First
- Starting on Flat, Stable Ground
- Building Confidence Paw by Paw
- Adding the Incline Gradually
- Setting Up for Success With the Right Equipment
- How Long Training Actually Takes
- What to Do If Your Dog Still Resists
- Practicing With the Actual Target Destination
- Maintaining Confidence Over Time
How PawSeniors Researches This
PawSeniors articles are written and edited in-house, then checked against primary veterinary sources before publishing.
- Every medical claim is sourced to the American Kennel Club, PetMD, VCA Animal Hospitals, or another named veterinary source, linked at the end of the article.
- Every claim is tied to a named, checkable veterinary source linked at the end of the article — nothing is published without a reference you can verify yourself.
- Articles are updated when veterinary guidance changes.
Buying a ramp for a senior dog is only half the solution; a dog who’s never used one before often needs a bit of patient, structured teaching before they’ll confidently walk up and down it rather than avoiding it or trying to jump around it entirely.
Why Dogs Often Hesitate at First
A ramp is an unfamiliar object with an unfamiliar surface underfoot, and many dogs, especially those with some vision decline or general caution around new things, understandably approach it warily the first few times. This hesitation isn’t stubbornness or a sign the ramp is the wrong choice; it’s a completely normal response to something new, and it responds well to the same positive, patient training approach used for teaching any new skill.
Starting on Flat, Stable Ground
Rather than introducing a ramp at full height right away, start by laying it flat on a stable surface, grass or carpet works well, where it won’t slide or wobble underfoot. This removes the incline and instability from the equation entirely for the first few sessions, letting a dog get comfortable with the ramp’s texture and the sensation of walking across it before height becomes part of the challenge at all.
Building Confidence Paw by Paw
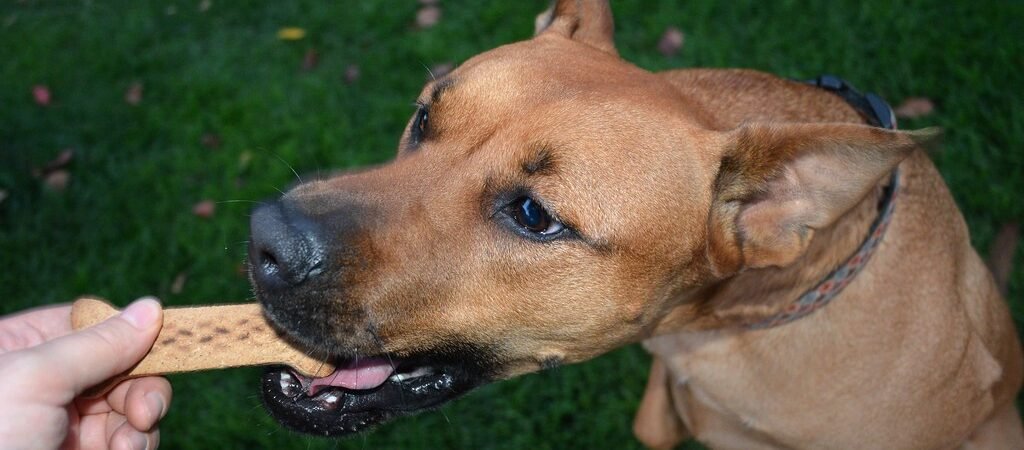
Using a treat to lure your dog toward and eventually across the flat ramp, reward the very first small success, one paw placed on the ramp, before expecting anything more. From there, progressively reward two paws, then encourage your dog to follow your hand or a treat further across the ramp as all four paws come up, moving the target treat toward the middle and then the far end in small, achievable steps rather than expecting a full crossing right away.
Adding the Incline Gradually
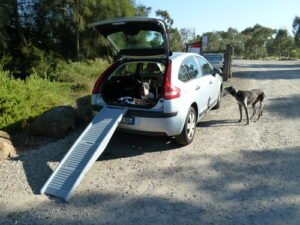
Once your dog is comfortable and confident walking the flat ramp, begin propping it at a very shallow angle against a low, stable surface, gradually working up toward the actual height it will need to reach, a bed, a car trunk, or a couch. Many ramps allow height adjustment specifically for this reason, letting you extend the ramp’s length to keep the incline gentle even as the target height increases, rather than jumping straight to the steepest angle a shorter ramp would require.
Setting Up for Success With the Right Equipment
A ramp with a genuinely non-slip surface makes an enormous difference in how confidently a dog approaches it, since a paw that slips even once during early training can set back weeks of progress through a single bad experience. Side rails or raised edges on the ramp itself help prevent a nervous dog from stepping off the side mid-climb, which matters especially during the early sessions when footing confidence is still developing.
How Long Training Actually Takes
Most dogs learn to use a ramp confidently within a handful of short training sessions, typically ten to fifteen minutes each, spread across a few days rather than one long session. Consistency across those short sessions matters more than duration; a dog who practices briefly every day tends to build confidence faster than one subjected to one long, potentially frustrating session that risks souring their attitude toward the ramp altogether.
What to Do If Your Dog Still Resists
For dogs who remain hesitant even after consistent positive training, it’s worth checking whether the ramp’s angle is still too steep, its surface too slick, or its stability genuinely uncertain underfoot, since a legitimate physical concern with the ramp itself, not just nervousness, is sometimes the real obstacle. Going back a step, to a lower height or a shorter session, rather than pushing through resistance, almost always produces better long-term results than forcing a frightened dog across a ramp before they’re actually ready.
Practicing With the Actual Target Destination
Once your dog is comfortable on the ramp at a moderate height, practice specifically with the real destination in mind, the actual bed, car, or couch the ramp will be used for, since the surface texture, lighting, and surroundings at the real location can all feel different enough to reset some of a dog’s confidence built up during practice elsewhere. A few supervised practice runs at the actual location, treats in hand, help bridge that gap before you rely on the ramp for daily independent use.
Maintaining Confidence Over Time
Even after a dog is using a ramp confidently, periodically checking that the surface traction hasn’t worn smooth, that the ramp hasn’t developed any wobble or instability, and that its angle still matches your dog’s current mobility level keeps the skill solid rather than letting small equipment issues quietly undermine confidence built through careful training. A ramp that served a dog well a year ago may need reassessing as mobility changes further with age, rather than assuming the original setup remains ideal indefinitely.
Sources: American Kennel Club — Dog Stairs vs. Ramps: Choosing the Right Option, American Kennel Club — Positive Reinforcement Dog Training.
Photo: "Reward Circuit" by sonstroem, licensed under CC BY 2.0. Source.